Arduino is a versatile, user-friendly, and open-source platform designed for rapid prototyping in electronics. It offers a wide range of interfaces, an intuitive programming environment, and high flexibility, making it ideal for both beginners and experienced developers. Built on the AVR architecture, Arduino simplifies complex microcontroller operations by encapsulating low-level code into easy-to-use functions. This abstraction allows users to focus on application development without worrying about intricate details like register configurations or memory addressing, significantly lowering the barrier to entry for microcontroller-based projects. It’s especially popular among students, educators, and hobbyists who are eager to explore embedded systems.
Many Arduino users come from non-technical backgrounds and may lack experience in circuit design, electronics, or microcontroller programming. Therefore, there's a pressing need to help them develop practical skills in building and designing microcontroller-based systems efficiently. This challenge can be effectively addressed through simulation tools that allow users to test their designs before moving to physical hardware.
Proteus has emerged as a powerful solution to this problem. As a comprehensive circuit simulation and virtual prototyping software, Proteus enables users to simulate electronic circuits and even program microcontrollers within a virtual environment. By integrating Proteus with Arduino, a new approach to system development has been established. The process typically involves: designing and simulating the circuit, refining the design, generating PCB layouts, and creating 3D renderings of the board. This method helps identify potential issues early in the design phase, reducing the need for costly and time-consuming physical modifications later on. Additionally, the 3D visualization of the PCB enhances the learning experience for beginners, offering a more tangible understanding of component placement and layout.
In the following section, we will walk through an example of using four buttons to control the state of four differently colored LEDs, demonstrating how to apply Proteus in designing an Arduino virtual system.
2. Arduino Virtual System Design
The following example demonstrates how to control the state of four LEDs using four pushbuttons, and introduces the process of using Proteus to create a virtual Arduino system.
2.1 Proteus Simulation Circuit Design
Creating a schematic in Proteus ISIS involves three main steps:
(1) New Project Setup: Open the Proteus ISIS environment and click “File - New Design.†Choose a suitable template, such as LandscapeA4, and save your workspace. This step sets up the foundation for your circuit design.
(2) Component Selection and Placement: Start by selecting components from the library. Use the search bar to find components like ATMEGA328P, select them, and add them to the component list. Then, place each component onto the workspace by clicking and dragging them from the list to the drawing area. Adjust their properties as needed.
(3) Wiring and Connection: Once all components are placed, connect them using wires. When you move the cursor near a pin, it will automatically detect the connection point, indicated by a red square. Click the left mouse button to make the connection, or right-click to cancel it.
Following these steps, the hardware schematic created in Proteus ISIS is shown in Figure 1.
Touch Display
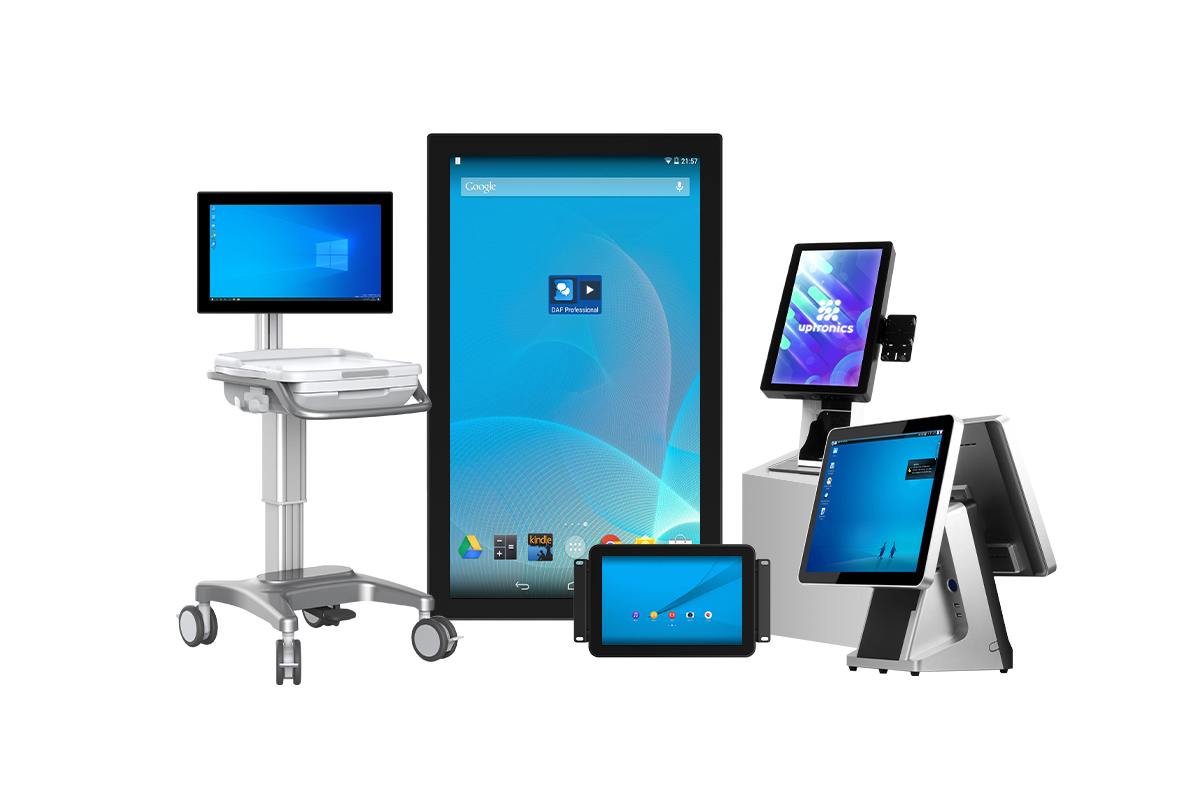
The touch monitor is a product developed and designed by ourselves. It has been sold for more than 6 years and has exceeded 160,000 units. At present, it is running very well. It mainly customizes different touch technologies, different sizes, different interfaces, connecting cables and power supply parts to meet the needs of guests. We provide customers with the choice of Resistive Touch Screen, Capacitive Touch Screen, infrared Touch Screen and nano Touch Foil , and customize various interfaces for customers, such as: VGA, DVI, HDMI, DP and so on. It is mainly used in banks, hospitals, government units, airports, railway stations, supermarkets, real estate and other places.
Product show:
Touch Screen Monitor,Multi Touch Display Monitor,Outdoor Touch Screen Monitor,Waterproof Touch Monitor,Commercial Touch Screen Monitor,KTV Touch Screen Monitor
HuiZhou GreenTouch Technology Co.,Ltd , https://www.bbstouch.com